Deutsch
Sumeru
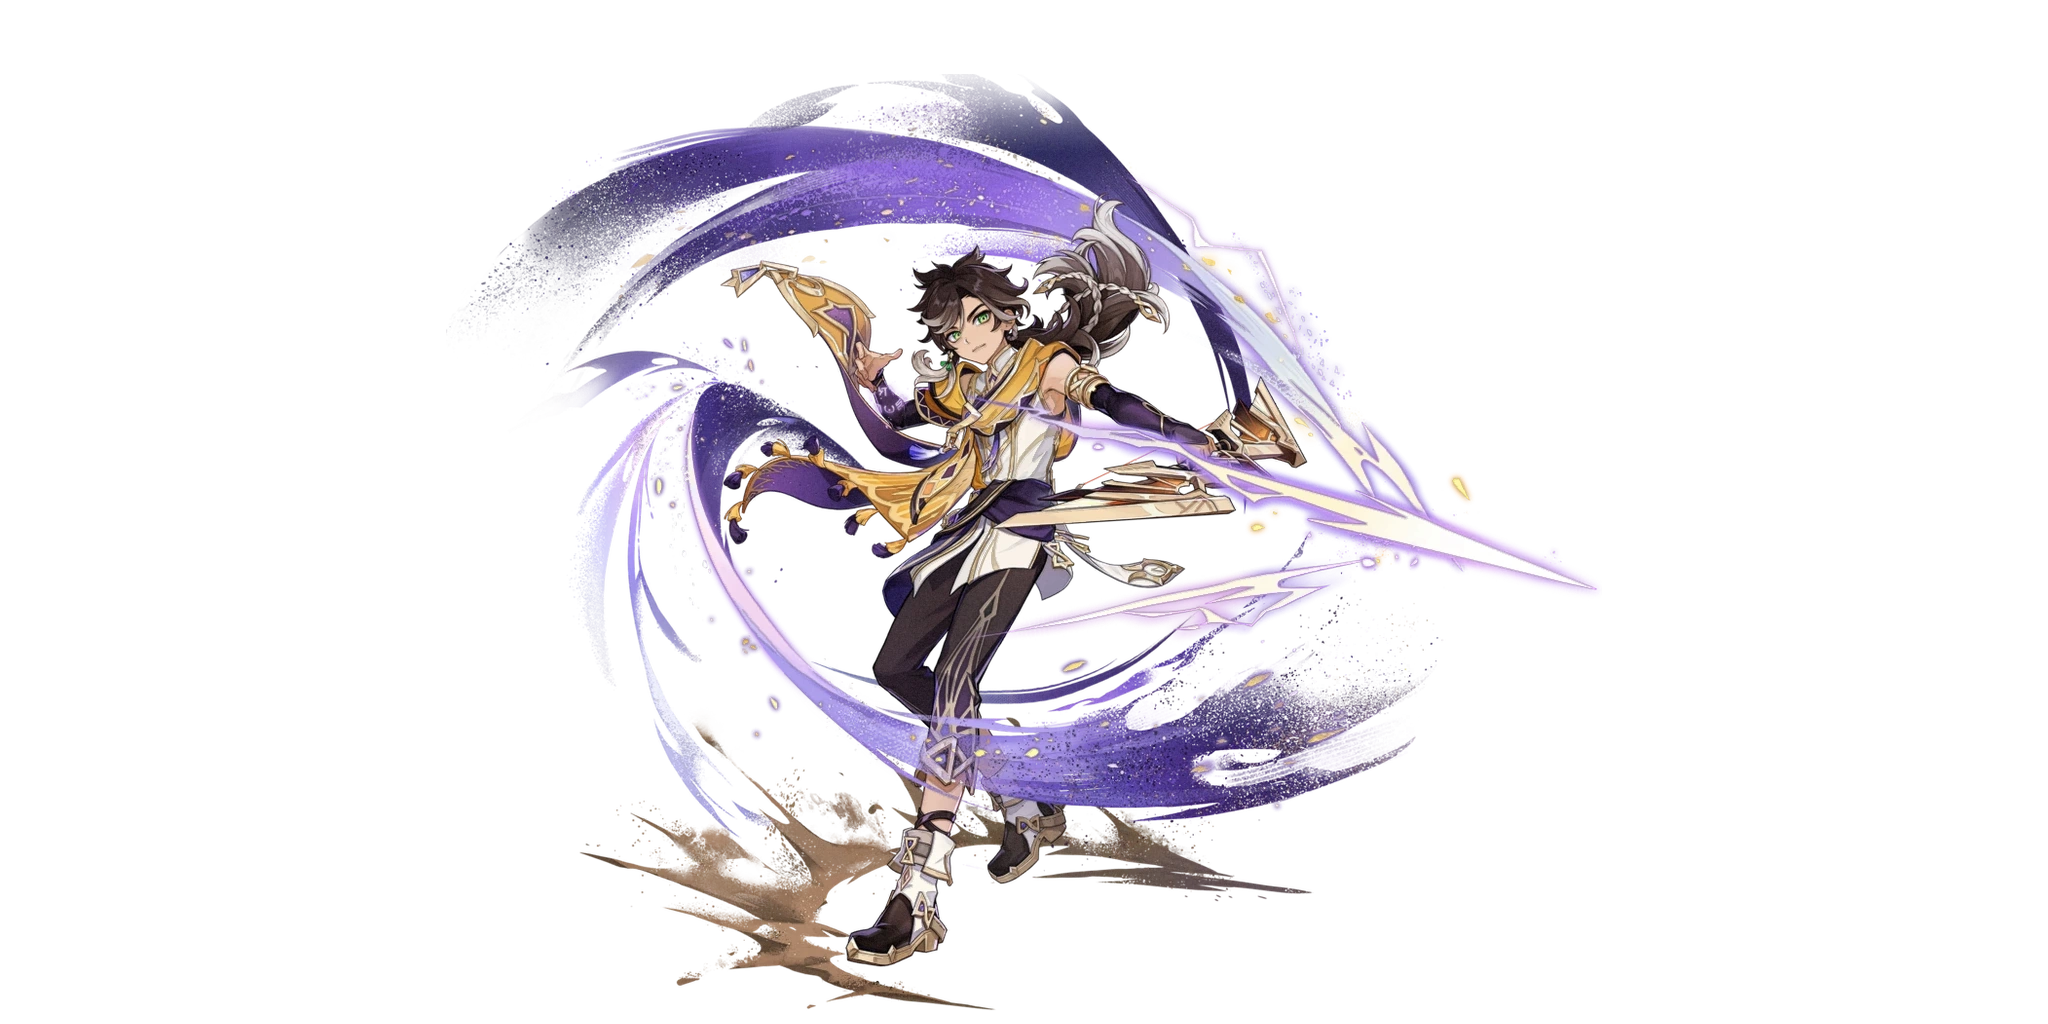
Sethos

Sethos

Maß aller Weisheit

Nachfolger des Tempels des Schweigens, der Geheimnisse in sich trägt und aus der Wüste kommt.

01

Informationen

Sethos ★★★★
Elektro
Waffe
Bogen
Region
Sumeru
Sternbild
Basileos Delta
Zugehörigkeit
Tempel des Schweigens
Geburtstag
5/31
Elementarkunde
✦
Figur auswählen
Nach Element filtern
Empfohlene Ausrüstung

Artefakte

3
  1. 01
    0 Stimmen ✓
    Würdest du dieses 4-Teile-Set für diese Figur empfehlen?
  2. 02
    0 Stimmen ✓
    Würdest du dieses 4-Teile-Set für diese Figur empfehlen?
  3. 03
    0 Stimmen ✓
    Würdest du dieses 4-Teile-Set für diese Figur empfehlen?
Empfohlene Ausrüstung

Waffen

10
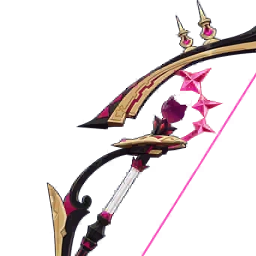
  1. 01 Pfad des Jägers SS
    0 Stimmen ✓
    Empfohlene Waffe?
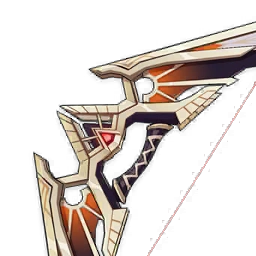
  2. 02 Steinschleuder SS
    0 Stimmen ✓
    Empfohlene Waffe?
  3. 03 Aqua Simulacra S
    0 Stimmen ✓
    Empfohlene Waffe?
  4. 04 Erste große Magie S
    0 Stimmen ✓
    Empfohlene Waffe?
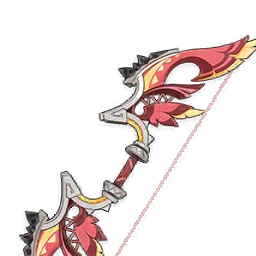
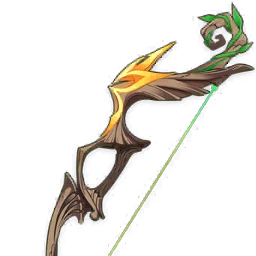
  5. 05 Spross der flammenden Sonne A
    0 Stimmen ✓
    Empfohlene Waffe?
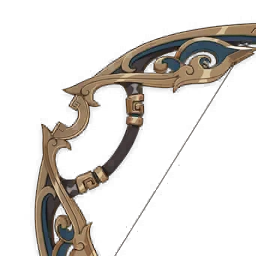
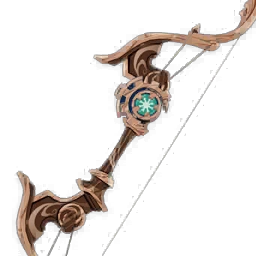
  6. 06 Mit Blumen gebundene Federn A
    0 Stimmen ✓
    Empfohlene Waffe?
  7. 07 Wolkenweber A
    0 Stimmen ✓
    Empfohlene Waffe?
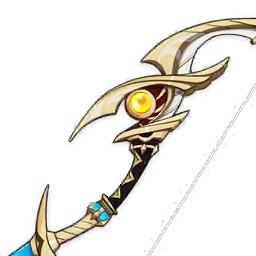
  8. 08 Durchdringer der Ibisse A
    0 Stimmen ✓
    Empfohlene Waffe?
  9. 09 Windblumenode B
    0 Stimmen ✓
    Empfohlene Waffe?
  10. 10 Gefolgsfrau des Königs B
    0 Stimmen ✓
    Empfohlene Waffe?
Empfohlene Teamzusammenstellungen

Teams

3
Furina / Ineffa / Jean / Sethos
Redaktionelle Bewertung Vorläufig Stärke 3/5 Spielkomfort 4/5
Community Stärke — Spielkomfort — ✓
Bewerten
StärkeSchwach → Stark
— 0 Bewertungen
SpielkomfortSchwer → Einfach
— 0 Bewertungen
Columbina / Ineffa / Sethos / Sucrose
Redaktionelle Bewertung Vorläufig Stärke 3/5 Spielkomfort 3/5
Community Stärke — Spielkomfort — ✓
Bewerten
StärkeSchwach → Stark
— 0 Bewertungen
SpielkomfortSchwer → Einfach
— 0 Bewertungen
Fischl / Nahida / Sethos / Sucrose
Redaktionelle Bewertung Vorläufig Stärke 3/5 Spielkomfort 2/5
Community Stärke — Spielkomfort — ✓
Bewerten
StärkeSchwach → Stark
— 0 Bewertungen
SpielkomfortSchwer → Einfach
— 0 Bewertungen
Mehr anzeigen

Sternbild

1Sealed Shrine's Spiritsong

The CRIT Rate of Shadowpiercing Shot is increased by 15%.

2Papyrus Scripture of Silent Secrets

When any of the following conditions are met, Sethos gains a 15% Electro DMG Bonus for 10s that may stack twice, with each stack duration counted independently:
· Consuming Elemental Energy through Aimed Shots. You must first unlock the Ascension Talent "Black Kite's Enigma" to trigger this condition.
· Regaining Elemental Energy by triggering Elemental Reactions using Ancient Rite: The Thundering Sands.
· Using Secret Rite: Twilight Shadowpiercer.

3Ode to the Moonrise Sage

Increases the Level of Normal Attack: Royal Reed Archery by 3.
Maximum upgrade level is 15.

4Beneficent Plumage

When a Shadowpiercing Shot or Dusk Bolt strikes 2 or more opponents, all nearby party members gain 80 Elemental Mastery for 10s.

5Record of the Desolate God's Burning Sands

Increases the Level of Secret Rite: Twilight Shadowpiercer by 3.
Maximum upgrade level is 15.

6Pylon of the Sojourning Sun Temple

After Shadowpiercing Shot strikes an opponent, the Elemental Energy consumed by the Ascension Talent "Black Kite's Enigma" will be returned. This effect can be triggered up to once every 15s. You must first unlock the Ascension Talent "Black Kite's Enigma."

Talente

Royal Reed Archery Standardangriff

Normal Attack
Performs up to 3 consecutive shots with a bow.

Charged Attack
Performs a more precise Aimed Shot with increased DMG.
While aiming, the power of Electro will accumulate on the arrowhead before the arrow is fired. Has different effects based on how long the energy has been charged:
·Charge Level 1: Fires off an arrow carrying the power of lightning that deals Electro DMG.
·Charge Level 2: Fires off a Shadowpiercing Shot which can pierce enemies, dealing Electro DMG to enemies along its path. After the Shadowpiercing Shot is fully charged, Sethos cannot move around.

Plunging Attack
Fires off a shower of arrows in mid-air before falling and striking the ground, dealing AoE DMG upon impact.

Ancient Rite: The Thundering Sands Elementarfähigkeit

Gathers the might of thunder, dealing AoE Electro DMG and quickly retreating. If this attack triggers Electro-Charged, Lunar-Charged, Superconduct, Stellar-Conduct, Overloaded, Quicken, Aggravate, Hyperbloom, or Electro Swirl reactions, Sethos recovers a certain amount of Elemental Energy.

Secret Rite: Twilight Shadowpiercer Spezialfähigkeit

Perform a secret rite, entering the "Twilight Meditation" state, during which Sethos's Normal Attacks will be converted into enemy-piercing Dusk Bolts: Deal Electro DMG to opponents in its path, with DMG increased based on Sethos's Elemental Mastery.
Sethos cannot perform Aimed Shots while in this state.
DMG dealt by Dusk Bolts is considered Charged Attack DMG.
This effect will be canceled when Sethos leaves the field.

Black Kite's Enigma

When Aiming, the charging time is decreased by 0.285s based on each point of Sethos's current Elemental Energy. Charging time can be reduced to a minimum of 0.3s through this method and a maximum of 20 Energy can be tallied. If a Shadowpiercing Shot is fired, consume the tallied amount of Elemental Energy; if it is a Charge Level 1 shot, then consume 50% of the tallied amount of Elemental Energy.

The Sand King's Boon

Sethos gains the "Scorching Sandshade" effect, increasing the DMG dealt by Shadowpiercing Shots by 700% of Sethos's Elemental Mastery.
The Scorching Sandshade effect will be canceled when any of the following conditions are met:
· 5s after a Shadowpiercing Shot first hits an opponent.
· After 4 Shadowpiercing Shots strike opponents.

When a Shadowpiercing Shot affected by Scorching Sandshade first hits an opponent, Sethos will regain Scorching Sandshade after 15s.

Thoth's Revelation

Displays the location of nearby resources unique to Sumeru on the mini-map.

Talentmaterialien

Kosten pro Stufe (je Talent)

×1 652 500Mora ×3Teachings of Praxis ×6Faded Red Satin ×21Guide to Praxis ×22Trimmed Red Silk ×38Philosophies of Praxis ×31Rich Red Brocade ×6Daka's Bell ×1Crown of Insight




St. 2
×12 500Mora ×3Teachings of Praxis ×6Faded Red Satin
St. 3
×17 500Mora ×2Guide to Praxis ×3Trimmed Red Silk
St. 4
×25 000Mora ×4Guide to Praxis ×4Trimmed Red Silk
St. 5
×30 000Mora ×6Guide to Praxis ×6Trimmed Red Silk
St. 6
×37 500Mora ×9Guide to Praxis ×9Trimmed Red Silk
St. 7
×120 000Mora ×4Philosophies of Praxis ×4Rich Red Brocade ×1Daka's Bell
St. 8
×260 000Mora ×6Philosophies of Praxis ×6Rich Red Brocade ×1Daka's Bell
St. 9
×450 000Mora ×12Philosophies of Praxis ×9Rich Red Brocade ×2Daka's Bell
St. 10
×700 000Mora ×16Philosophies of Praxis ×12Rich Red Brocade ×2Daka's Bell ×1Crown of Insight

Aufstieg

1Aufstieg 1

×20 000Mora ×1Vajrada Amethyst Sliver ×3Trishiraite ×3Faded Red Satin

2Aufstieg 2

×40 000Mora ×3Vajrada Amethyst Fragment ×2Cloudseam Scale ×10Trishiraite ×15Faded Red Satin
3Aufstieg 3

×60 000Mora ×6Vajrada Amethyst Fragment ×4Cloudseam Scale ×20Trishiraite ×12Trimmed Red Silk

4Aufstieg 4

×80 000Mora ×3Vajrada Amethyst Chunk ×8Cloudseam Scale ×30Trishiraite ×18Trimmed Red Silk

5Aufstieg 5

×100 000Mora ×6Vajrada Amethyst Chunk ×12Cloudseam Scale ×45Trishiraite ×12Rich Red Brocade

6Aufstieg 6

×120 000Mora ×6Vajrada Amethyst Gemstone ×20Cloudseam Scale ×60Trishiraite ×24Rich Red Brocade